Coolle OBBS Studio Pro - Use Manual
 Coolleget
2022-02-25
0 reviews
Coolleget
2022-02-25
0 reviews

Open source software for video recording and live streaming. Coolle OBBS Studio Pro is equipped with a powerful API, enabling plugins and scripts to provide further customization and functionality specific to your needs.High performance real time video/audio capturing and mixing. Create scenes made up of multiple sources including window captures, images, text, browser windows, webcams, capture cards and more.
Download Source Code

Coolle OBBS Studio - Quick Start
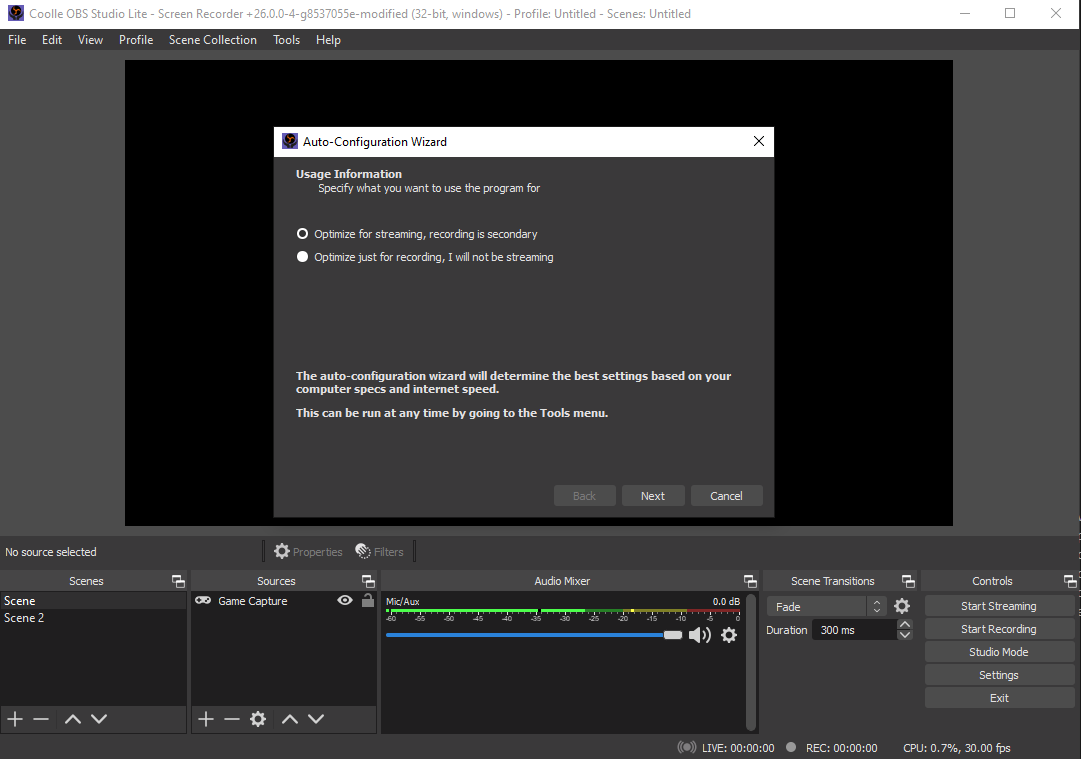
1. Run the auto-configuration wizard.
When you load Coolle OBBS Studio Lite for the first time you should see the Auto-Configuration Wizard. If you're new to Coolle OBBS Studio Lite or just want to get started as quickly as possible, follow the steps to get good starting settings for your setup. If you only see the main OBBS Studio window, you can access the Auto-Config Wizard in the Tools menu at the top. This wizard will automatically test your system and attempt to find settings that your PC can handle. This includes streaming or recording, resolution, bitrate, encoder, streaming provider and more. You can always modify the settings manually later.
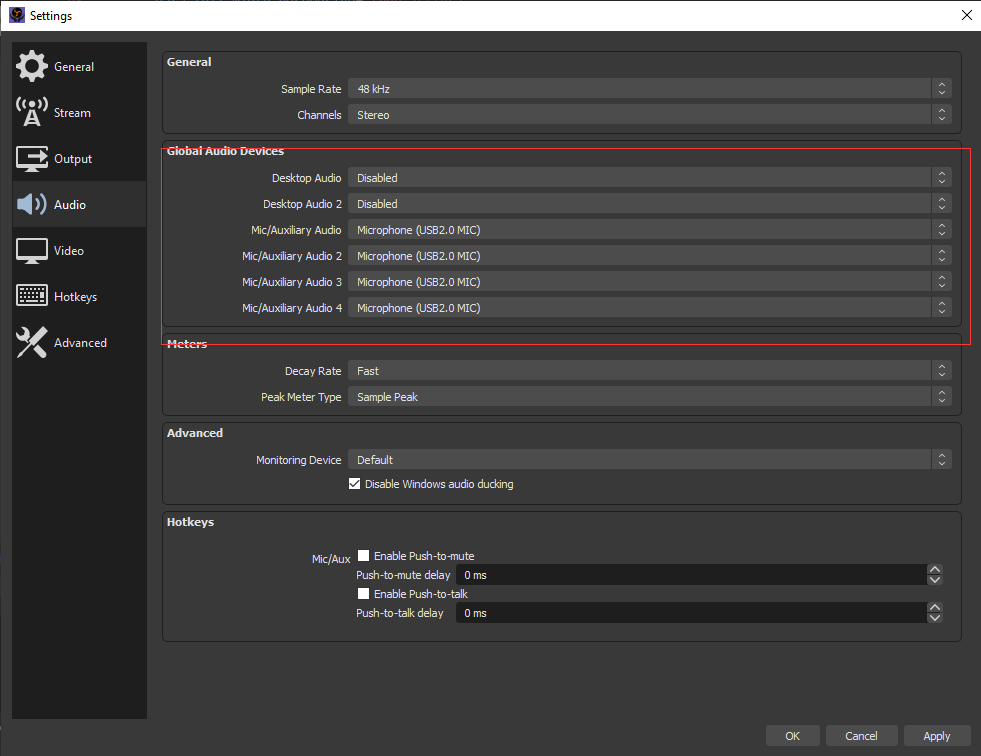
2. Set up your audio devices.
By default, Coolle OBBS Studio Lite is set to capture your system default desktop audio device and microphone. You can verify this by looking at the volume meters in the mixer section of the main Coolle OBBS Studio Lite window, and see if they are active. If they aren't moving, or you suspect the wrong device is being captured, click on Settings -> Audio and select the devices manually.
3. Add your sources for video.
Next, you'll see that the preview is a black screen. OBBS does not capture any video by default. To get started capturing, you need to add a Source. At the bottom of the window is a box called 'Sources'. Click on the + (or right click inside the box) and pick the source you want. As a few examples, select Game Capture if you're capturing a game, Window for non-game applications, or Video Capture Device for a webcam or capture card.

4. Test your stream and record settings.
Double check that all your settings are how you want them in Settings -> Output. Then, just hit Start Recording or Start Streaming. We strongly encourage running a test for a few minutes to make sure that there are no issues, rather than just jumping in to your first stream or recording. If you run into any issues, or need further help, take a peek at our help portal.
Once you're satisfied, you can go on to creating great content. That's all there is to it!
FAQ
Where are my recordings saved?
Once your recording is done, you can find it using File -> Show Recordings. You can change this in File -> Settings -> Output -> Recording.
I need my recordings in MP4!
File -> Remux Recordings will quickly and easily convert your video files into MP4.
Help, my video is laggy!
Depending on the kind of lag, this could be related to a slow internet connection, your game using too many resources, or incorrect settings. Read the troubleshooting guides linked below.
- Next Post:Zip Extractor Pro - Tutorial
- Previous Post:X Live Wallpaper

- Why Donate?
-
Inorder to keep our app free to all the uses, We need the support to continue work. And you will be appreciated.

- Search
-
- Recommend Articles


- Random tag
- Latest reviews
-
- Friendly link